|
Repairing HP
DesignJet , Z3100, Z3200ps, Z Series Printers
HOW TO'S by Mark Lindquist
Repairing Z3200 Printers - Notes on Tools,
Materials, and Procedures
How to do basic things with Z3200psprinters
Mark Lindquist 12/10/2014 - updated --1-03-2017
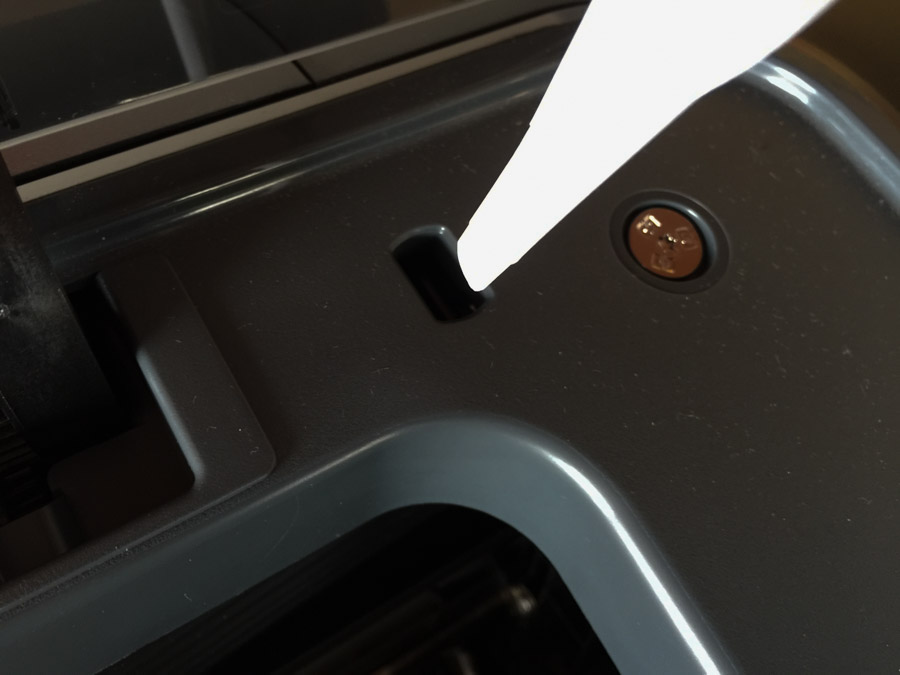
Open Front Cover For Maintenance
Open the top plexi front cover and look for hole in the
upper right corner. Fold a piece of letter paper in half and
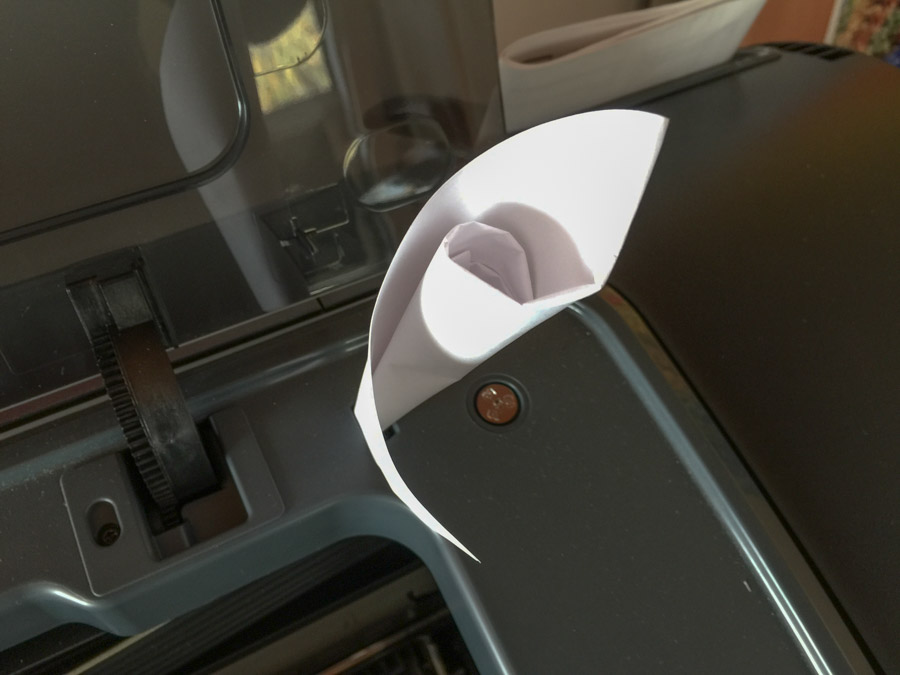
roll in into a cone from one corner. Pinch the end so that it will
go down into the slot where there is a limit switch.
Once the paper is inserted, the printhead carriage will begin
traversing to the left then back home.
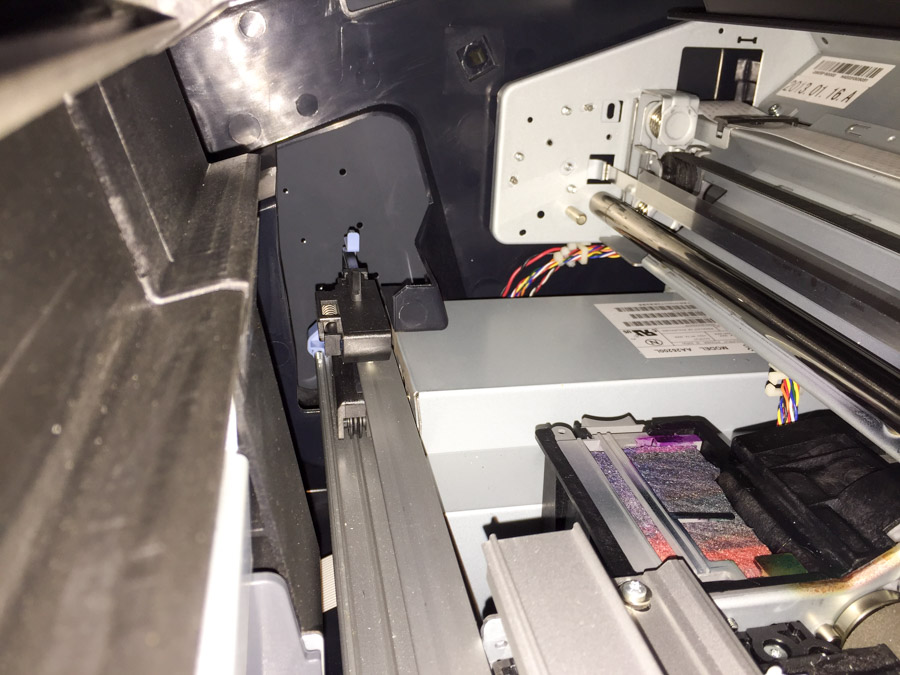
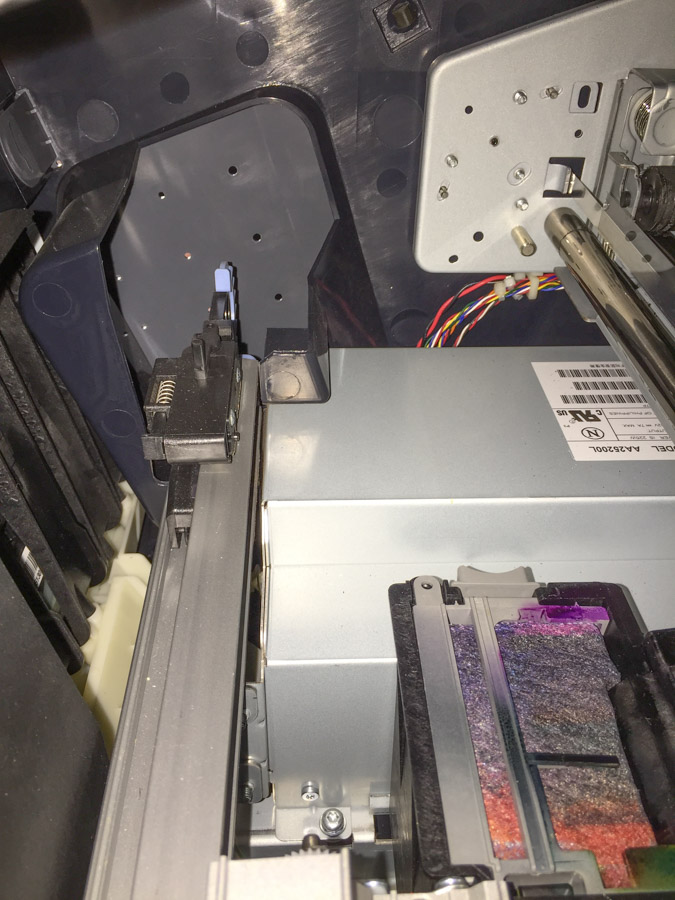
Once the lid is open one can see plainly what is happening with the
carriage and belt movment.

Using a good light, notice that the cutter is on the left inside of the
printer. Sometimes the printhead carriage becomes caught up in the
cutter, when and if the cutter goes bad. The idea then is to
remove the cutter, from the outside and see if the carriage becomes
free.
Cutter replacement instructions come with the new
cutter.
click=>
HOW TO REPLACE THE CUTTER ON Z-SERIES PRINTERS
*NOTE TO SELF: When the cover is open,
everything is exposed.
Keep hands and fingers out of there unless you know what you are doing.. |